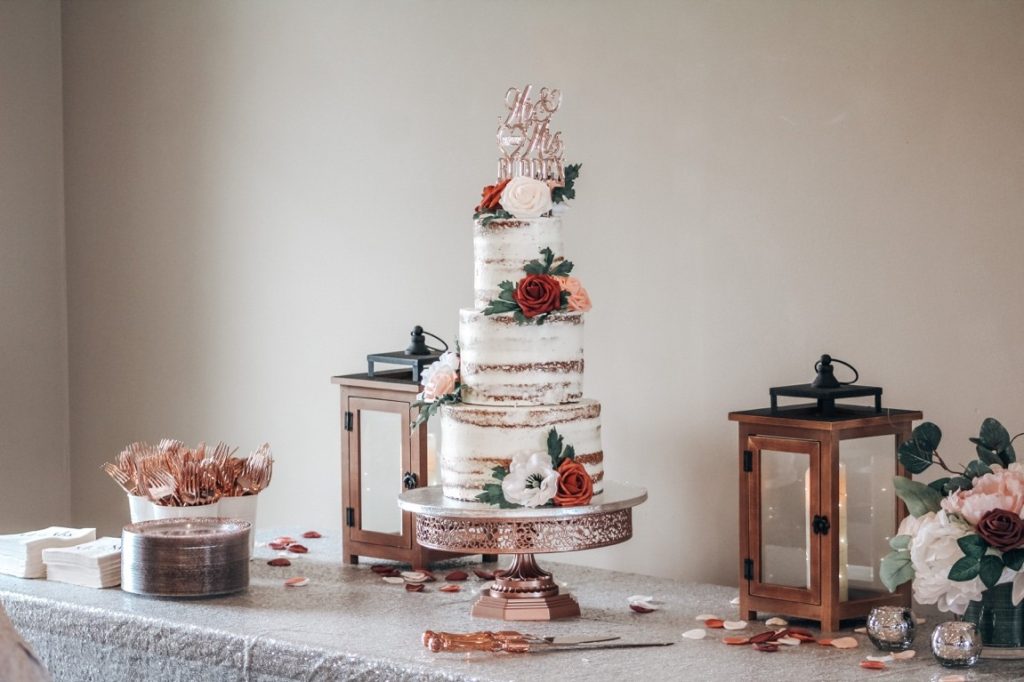
Cakes are an integral element of any wedding-related celebration, be it a bridal shower or a reception. One of the most memorable parts of any reception is the cake-cutting ceremony. Thus, getting asked to bake or transport a wedding cake is a huge honor.
Figuring out how to transport a wedding cake can get intimidating. However, you can create a checklist of the steps you must take to make the process easier. It starts with going on a test drive and then finding the right container for your cake.
Below is a complete step-by-step guide for bringing a wedding cake to the venue, along with some important tips to ensure the process is a piece of cake.
How to Transport a Wedding Cake Seamlessly: Complete Guide
Step 1: Go on a Test Drive
In the days or weeks leading up to the wedding, you should set aside some time to figure out the best route to the wedding venue. If you have directions from an online app, check if it is safe enough to transport a cake.
Ideally, you would not have to encounter any steep declines or inclines. Likewise, look out for any speed bumps and sharp turns.
You can go the extra mile and place a mock-up of the cake in your vehicle. You can check how your cake would fare in various routes.
If you encounter anything that might make transporting more challenging, try to determine an alternate route. However, if this is not feasible, you can make the necessary adjustments to your cake and driving style.
Step 2: Get the Appropriate Container
Once you have the cake’s dimensions, find a container that will fit your cake. The container and the cake base should have the same size to prevent it from sliding around.
You can get cake boxes of varying sizes. Alternatively, you can use a cake carrier. However, if you cannot find a container where your cake fits, consider creating it yourself. Use cardboard boxes from other stores — Amazon, Walmart, etc. — and make a tall and wide container for your custom cake.
Step 3: Chill Your Cake and Your Car

Some cakes, especially those with buttercream, cream cheese, or fresh fruits, will not fare well in the heat. Store them in your fridge until the moment you have to transfer them into your car — give them at least 30 minutes to become firm. If possible, leave them in the refrigerator for 24 hours.
If you have to travel extremely far, buy some ice packs or dry ice and put them next to the cake layers. You can also get insulated boxes. These things will help them stay cool and firm on the drive.
Likewise, remember to turn on the air conditioning in your car around 10 minutes before you put the cakes in there. Aim the cold air toward the cake containers. It should be sufficiently cold enough in your car that you do not have to worry about anything spoiling or melting.
Step 4: Prepare the Space in Your Vehicle
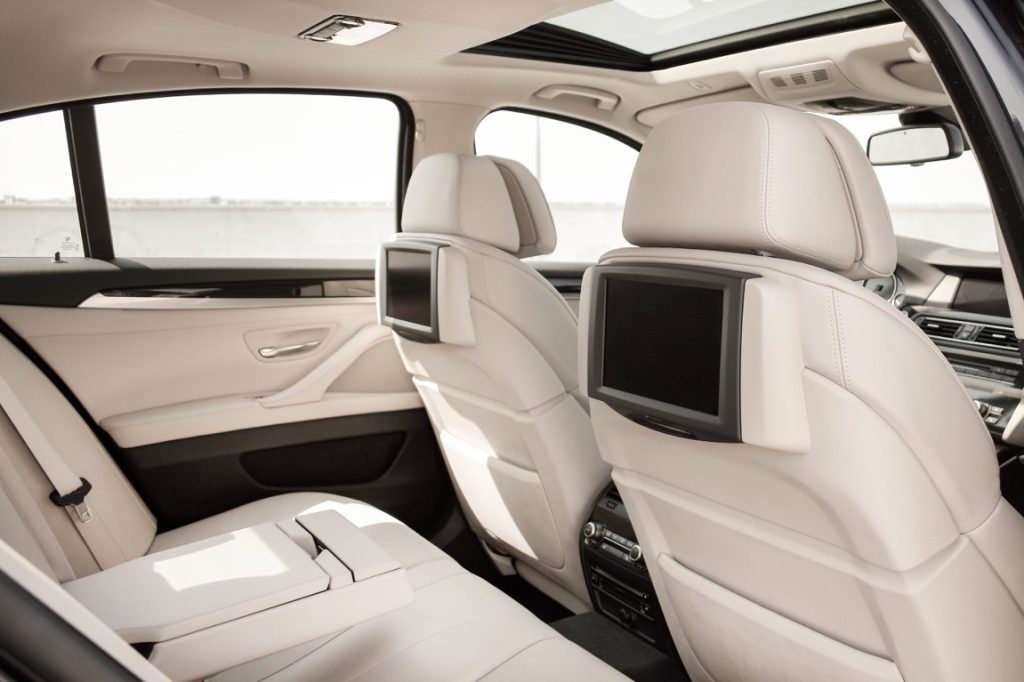
Your best bet for safely transporting a wedding cake is a flat surface. Floorboards are the way to go, not your passenger seat, backseats, or someone’s lap.
For added protection, purchase some nonslip shelf liners and set them on your floorboards. You can also layer a towel or a yoga mat over the liners. These items will prevent the containers from moving and getting shaken by the road.
It might also be worth buying a sun shield to protect your cake from the heat.
You can also stick a sticker or magnet on the back of your car to let other drivers know you have a cake on board. This sticker will tell them why you are driving so slowly and carefully.
Step 5: Prepare an Emergency Kit
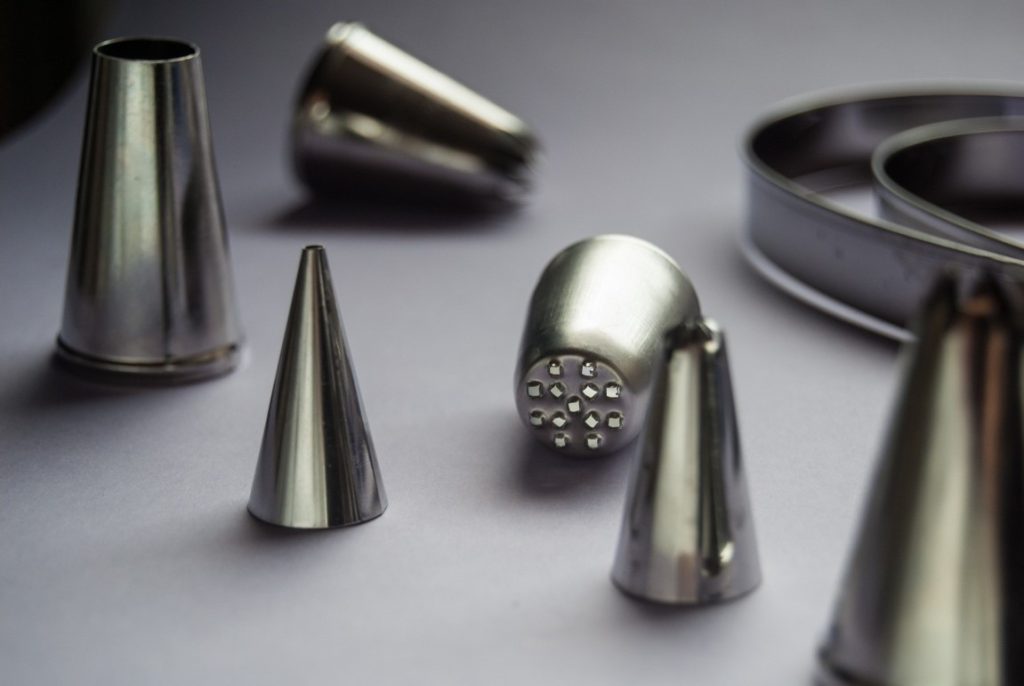
You can spend weeks planning how to transport a wedding cake and get everything ready, but some things are unfortunately outside of your control. In situations like this, you need to have a bag of tools and items that will allow you to make some touchups to your cake.
Here is a list of the items you should consider including in your kit.
- Offset spatula
- Levels
- Fondant smoother
- Additional frosting, at least one cup
- Extra decorations, e.g., flowers, sprinkles, etc.
- Cake toppers
- Edible flowers
- Other tools specific to your cake
Step 6: Settle the Day-of Logistics
Before leaving for the venue, double-check the address of the venue and your navigation app.
Likewise, make sure to contact a member of the wedding party. They can tell you about any traffic they encountered, allowing you to reroute. Moreover, do not forget to ask them to save you a convenient parking spot.
Step 7: Leave Early

Going on those test runs weeks before the wedding allows you to anticipate your estimated time of arrival at the venue. If it took you an hour to get there, it might be best to give yourself at least two hours to drive there on the day itself.
You need to drive slowly, especially if there are unavoidable speed bumps, sharp turns, or uneven roads. Leaving early also gives you more time to navigate traffic if necessary.
Give yourself more time if you need to set up the cake — such as stacking the layers and adding decorations — at the venue.
Step 8: Walk Around the Venue
Once you reach the venue, walk around the area first. Take note of any tripping hazards, signs, slippery spots, and spots with many people. Create a mental map of how you will get your cake from your vehicle to its rightful stand.
If you need any help, you can ask anyone you know from the bridal party. They can assist you with lifting the layers, clearing the way, and other tasks. Alternatively, ask them if there is a cart you can use to wheel in everything you need.
Step 9: Set the Cake Where It Belongs
Carefully remove the packaging to reveal your cake. If you chose to transport the cake in separate layers, you can start stacking them on top of each other. Lastly, add the final touches, such as edible flowers and cake toppers.
Other Things to Know About Transporting a Wedding Cake
Transporting a Cake in Your Trunk
The only available space in your car for transporting a wedding cake might be the trunk. Before putting your layers in there, here are some tips to make sure your baked delicacy will be safe:
- Make sure the AC in your car will reach the trunk. If it does not, you may want to explore other options.
- Turn the AC on and allow your entire car to cool off. Do not put your cake in the trunk without first checking if the trunk is cold enough.
- Create a smooth, flat surface in your trunk. You might need to add nonslip liners, towels, a yoga mat, and other things to make it as level and steady as possible.
- Check the weather forecast for the day you will transport the wedding cake. If it is too hot, then you might need to figure something else out; it might be too risky to put your cake in your trunk.
Assembling at Home Versus Assembling at the Venue
Both methods have pros and cons, and different bakers have varying preferences. Some may want to prepare everything at home, while others prefer to finish the construction at the venue. Below is a table to help you decide which strategy will work best for you.
| Methods | Pros | Cons |
| Assembling at Home | ● You will save time with preparations at the venue.
● You do not have to stress out or feel pressure from people watching you construct your cake. ● There is no distraction to worry about during the process. |
● You might have trouble fitting the cake in your car.
● The layers might topple over. ● The assembled cake will be heavier — thus, more difficult to transport. |
| Assembling at the Venue | ● The layers of your cake will be easier to fit in your car and transport safely.
● You can get real-time feedback from the wedding party to ensure their approval and satisfaction. |
● You need more time at the venue to construct your cake.
● You might forget an important tool at home. |
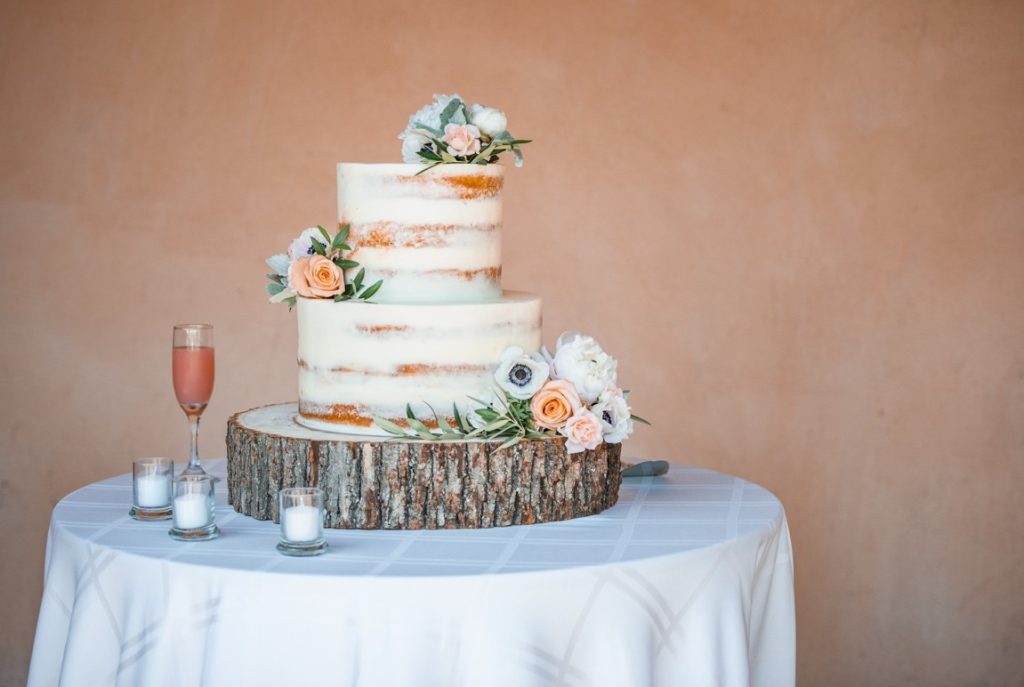
How to transport a wedding cake can also depend on how many tiers you have. For cakes with two to three tiers, you can assemble them at home with dowels and cake boards.
However, with four or more tiers, it is best to separate them into sections and finish the assembly at the venue. For instance, you can pre-assemble two layers each of a four-tier cake, then combine them at the venue.